

So after lots of discussion with some fellow baby wearers, I decided to try my luck at making a Mei Tai style baby carrier. I trawled the internet in search of a pattern but of course each site I looked at all gave different measurements! So as per my usual way of making things and with an image in my head, I made up a pattern of how I thought it should work.
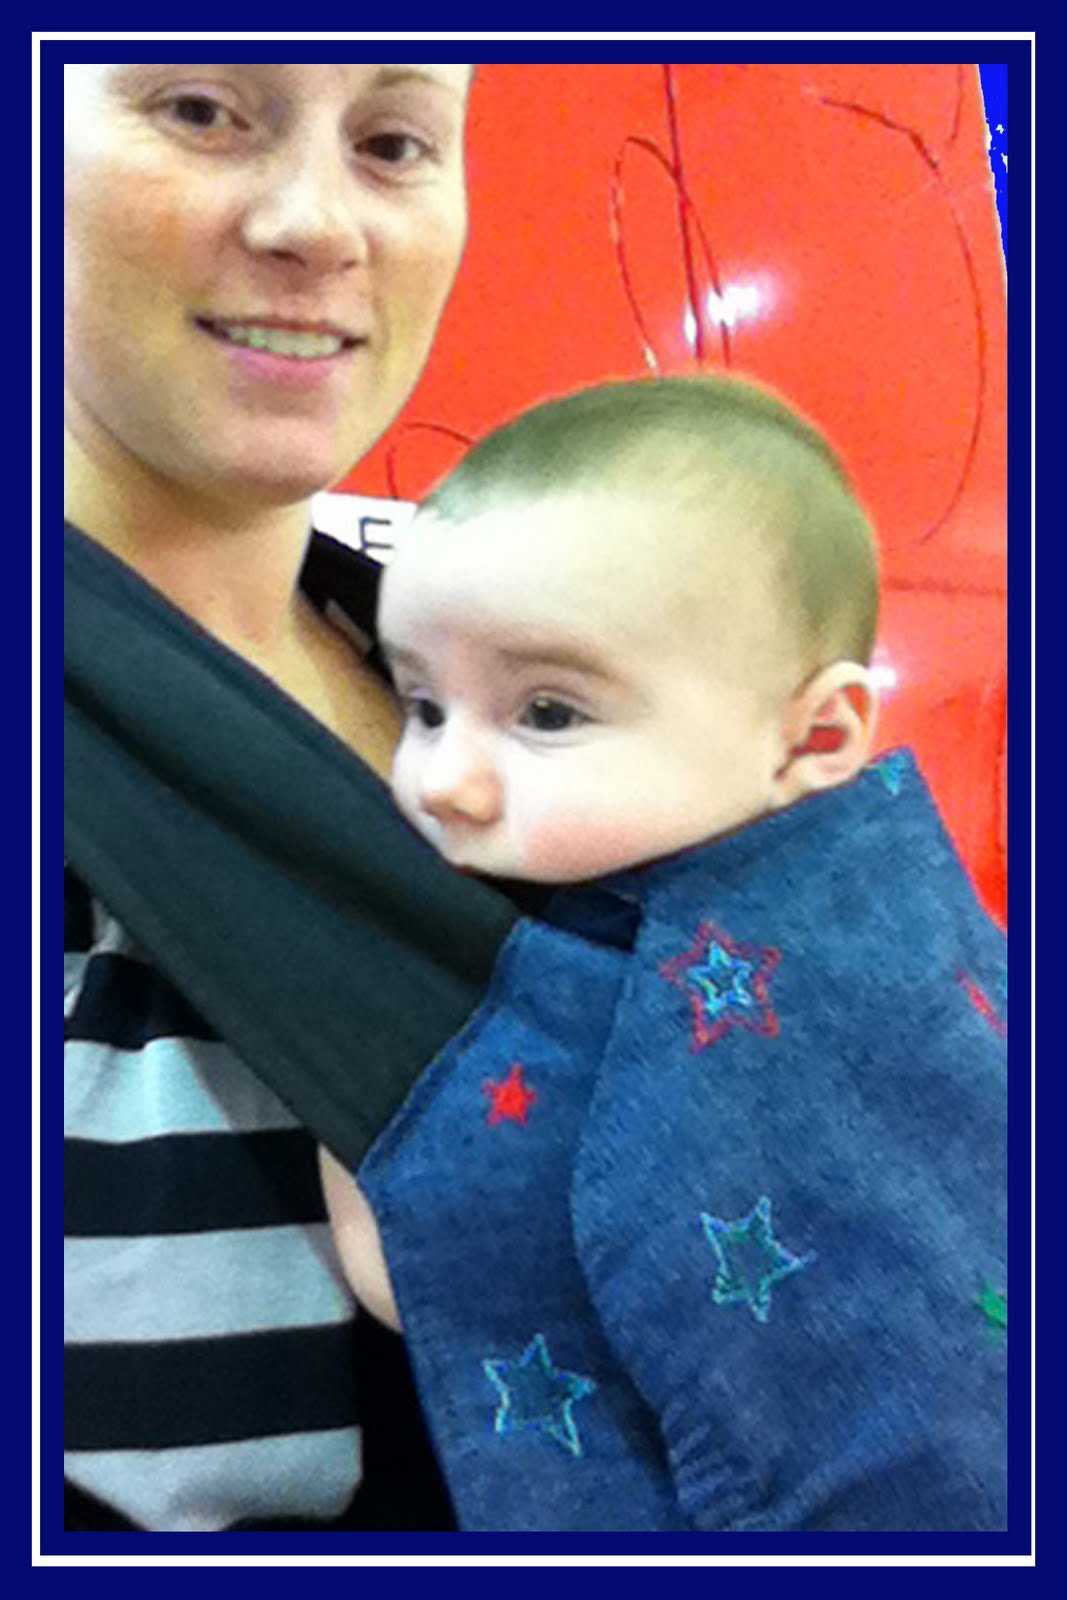
I needed some fabric first, so I dragged my patient husband to Spotlight in search of some suitable fabric for the body of the carrier. I was thinking along the lines of denim and was super lucky to find some denim fabric in the clearance section, bargain! For the waist band and shoulder straps I used some dark brown corduroy that I had at home left over from a cowboy vest I made for a friend's son a while ago. I padded the waist & hip area with polar fleece, as well as the shoulder area. Cut the denim fabric to shape including a hood and then sewed it all together.
I was very happy with the finished product and have received a lot of positive comments on it! I have even had people come up to me and ask me where I bought it from! I still have to sew some tabs onto the shoulder straps so I can attach the hood but it's finished otherwise! I have been using it almost daily, it is super comfy and I just love it!


