Sunday, February 27, 2011

A Boys Bunting

My latest sewing project was something to add to the bare walls of my 6yo & 3yo sons' bedroom. With their input we decided on a bunting.

I headed down to Spotlight while they were at school and daycare and bought some different printed and plain cotton fabric. They were pretty excited about the boyish prints I found - cars, trains, camo, space, robots.

I soon got to work cutting out triangles of fabric and then the time came to let the boys choose which triangles they wanted their bunting made from. My plan was to do a create a bunting alternating the prints and the plain colours but of course my boys only wanted the prints, so that's what I made!

I used bias binding to sew it together and once completed I attached it to some hooks in their room for a great effect! The next bunting I make I plan to use only one or two prints or a theme, such as space, and alternate with prints and plain colours but also make it a reversible bunting, so space on one side and cars or something else on the other.


Photobucket

Ribbon blankee gifts

With some left over fabric from the cloth nappies I made, and some other fabric I had laying about the house, I made some ribbon snuggly blankees.

I used different fabrics on each side of the blankees including PJ Silk, flannelette, minky, jersey cotton and fleece. Each blankee has 16 assorted ribbons sewn in and no two blankees are the same.

I had enough fabric to make eight of these blankees. I made them as gifts for some lovely friends of mine. Each one of my friends also had a new baby around the same time I had my baby in November.

My original plan was to have them finished in November so I could send them out as gifts for their babies arrival but I wasn't that organised!


Not to worry thought as it's a great time for our babies to have such a special item now, as they are at the stage of development were they are starting to grab hold of things and feel different textures.

To accompany each blankee, I made little personalised gift tags for each baby with their name on it, and tied it to one of the ribbons on the blankee before I popped them in an envelope and into the post. They have been well received and I have received some lovely comments about them :) which I am super pleased about!
Photobucket

Tuesday, February 1, 2011

Baby Carrier, wrap style!

When I was pregnant with my first son I didn't know much about "baby wearing". We simply went into a baby store and I tried on all of the baby carriers to work out which one was most comfortable. I grabbed a dolly that was in the shop and used that as a pretend baby to see how easy it was to put a baby in and out of a baby carrier. We settled on a Baby Bjorn carrier. Having a refluxy baby meant that both my husband spent many hours pacing up and down our hallway with our baby in the carrier trying to get him to sleep and it was fabulous, however it did give me a sore back though hubby found it a lot more comfy.

Since then I have used the www to find out about baby wearing and have been amazed at the many different types of wonderful slings and carriers that are available. So when I was pregnant with my second son I decided to buy something different to give it a go and opted for a Jazsling, in a gorgeous Indian cotton fabric. I absolutely loved this sling, and my baby was so cosy in it, I would often get comments from strangers while out and about telling me how lovely he looked in there. As this type of sling is sized, I bought it so that it would suit my height, so as much as I loved it my hubby didn't find it as comfortable!

Fast forward to when I was pregnant with our third son and I had grand plans to walk son #1 to and from school, approx 40mins each way. I would need something more supportive than a sling, and although I have a great pram, I figured that as my first two boys didn't like being in the pram while they were babies, I highly doubted that my third son would! So I bought myself and Ergo on sale and it has been fantastic. Excellent choice for the school run but too bulky for short trips, such as to the supermarket. I used to use my Jazsling for quick trips and I used it again to carry bub #3 but unfortunately he no longer likes it and constantly squirms and cries when he's in it, he just can't seem to get comfy any more.

So that's why I decided that I would have a go at making my own carrier. I couldn't decide between a wrap style sling or a mei tai carrier though so bought some fabric to make one of each!
My first attempt was the wrap, pretty simple I thought - just buy 6m x 1.4m suitable fabric, cut it down the centre longways to give two long pieces of fabric 6m -.70m, overlock the edges and sew a line down the centre so you know where the centre is to make it easier when putting on. Too easy! From my brief research on the www it appeared that many wrap style carriers were made from cotton jersey (t-shirt fabric) however I made mine out of Cambridge Suiting fabric, which was mix of cotton/spandex/rayon (I think if I remember correctly) so it has a slight stretch to it. I picked it up from Spotlight on clearance for $5/m. After sewing it, I tried it out a couple of times but decided that it was just a smidgen too long and it was bulky at the ends to tie up, so back to the overlocker I went and shortened it as well as tapering the ends so it's now a much better fit for me and far easier to tie up. As I had enough fabric to make two, I have overlocked another one for a girlfriend who is due with her second child in June.

I have almost completed the mei tai carrier as well, pics to come soon!

Photobucket

Tuesday, January 18, 2011

Final Project for 2010

I didn't get a chance prior to Christmas to show my final project for 2010 and this was it.

I made a Santa sack for each of my three boys. We spent Christmas away from home this year and the sacks were great for the boys to put under the tree at father in laws house in anticipation for Santa Clause making a visit, which he did!

They were very simple to make, Christmas fabric for the sack, coordinating cord for the drawstring and felt for their names.

Photobucket

Happy New Year!

I finally have the time to blog to say Happy New Year!

We are already past the half way mark of January and I have been fixated on watching the news lately - all the devastation of mother nature, in particular the major flooding in Queensland and now in Victoria. My heart goes out to everybody impacted by such disasters, especially to those people who have lost their homes or their loved ones.

We are fortunate that we live in a country that bands together to support each other in times of need. There have been so many acts of kindness helping to keep spirits high, and so many individuals and organisations that are fundraising or helping in others ways. So many people are going to be affected by the recent events for years to come, so get behind them and support them in any way you can.
Photobucket

Wednesday, December 22, 2010

Advent Calendar

So I bought the Advent Calendar from my local KaiserCraft outlet before the start of December and I have only just managed to get it finished. We get a few days use out of it at least! I bought a little wooden Santa card holder and I am going to use it to hold a Christmas photo in every year. I think I will take the base and the spring off the santa so that it fits better inside the box.


Photobucket

Christmas Nappy is in use!

Well the newborn nappies I made for my scrumptious baby boy have been packed away and out have come the small size! My gorgeous son is 6weeks old now and he's been in the small nappies for the past two weeks, since he hit approx 4.5kg. Excellent timing as with Christmas only a few days away it means he fits into the one and only Christmas nappy I made for him, awesome!


Photobucket

Sunday, December 12, 2010

A Christmas Wreath

I was in my local Kaiser Craft outlet recently and came across these Star Wreaths. I thought it would look great and my older boys bedroom door.

I covered each star with various Christmas themed paper, tied some green and red ribbon on for some bows, glued it all together and project finished!


Photobucket

Thursday, December 9, 2010

Secret Santa again!

I was part of the Secret Santa on a parenting forum I am a member of. My recipient liked hand made things and the colours blue and light purple, among other things. I opted to make a photo album using one of Kaiser Craft's Beyond The Page albums. I was really happy with the result. I also added some scented sachets to the gift.


Photobucket

Secret Santa!


One secret santa I participated in was with some lovely mums and a dad all of which had babies due in November! I knew that my recipient liked reading and cooking (particularly curries) so I put together a cook book, some spices and a wooden spoon. I decided to add in something else special for her gorgeous newborn daughter, so created a Beyond The Page photo album. using a Kaiser Craft "baby" album. I made it so that there was space to add some small photos but also so that it doesn't have to have photos added to it. I posted my secret santa gifts off last week, my recipient has received them and loves them which I am really pleased about :)


Photobucket

Thursday, December 2, 2010

Christmas is fast approaching!

We are now into December and it wont be long until Christmas is here! I love love love Christmas time, plenty of festivities with family & friends!

I participated in two secret santa's this year and posted off their gifts today. I hope both my recipients like their gifts. And I can't wait for the postman to deliver my surprise packages too!

I always like to put the Christmas tree up on the 1st Dec however we were so busy yesterday and today that it is still sitting in it's box in the roof. The next few days are just as busy but hopefully we will have our Christmas tree up by the end of the weekend.

Photobucket

MCN gift


I have sent one of the small nappies I made to a lovely friend of mine who has also recently had a little girl. I hope that it fits her gorgeous daughter well. I also sent with it a matching ribbon blankie.


Photobucket

Sunday, November 14, 2010

Our baby is here!!!

Our 3rd baby boy was born only a few days ago on the 10th Nov. He was 3 days overdue and after being induced he was born after a speedy 46min labour! He is of course absolutely gorgeous, very much like our eldest two boys.

This is one of my fav pics taken when he was only a few minutes old.


Our two oldest boys having their first kisses and cuddles with their baby brother. Adorable.


This is another of my fav pics so far :)


AI2 newborn nappy with PUL print fabric from Nappies Covered.


Fitted newborn nappy, outer layer is a very cute teddy bear flannelette print. Then an elephant walk PUL cover over the fitted nappy.


I am pretty pleased that the newborn nappies I made for him actually do fit, and fit well :)

Photobucket

Friday, October 29, 2010

Babies Nappy Stash Finished!!

With just over a week till my due date, I have finally finished off the newborn and small nappy stash for this bubba!

This is the newborn stash - 16 x fitted nappies, plus 1 x AI2. They are tiny, so I am sure they will only last a few weeks!


Newborn covers. I am not 100% happy with them as I am not too great at sewing FOE but they will do. They look great from a distance but the zig zag stitching is a bit dodgy close up!


A comparison of a newborn & small AI2. The outer is a gorgeous PUL cotton print from, the inner is lined with suedecloth (both fabrics from Nappies Covered) and it has both a sewn in hidden bamboo booster and a snap in bamboo booster. I love this print and they would have to be my fav nappies so far!


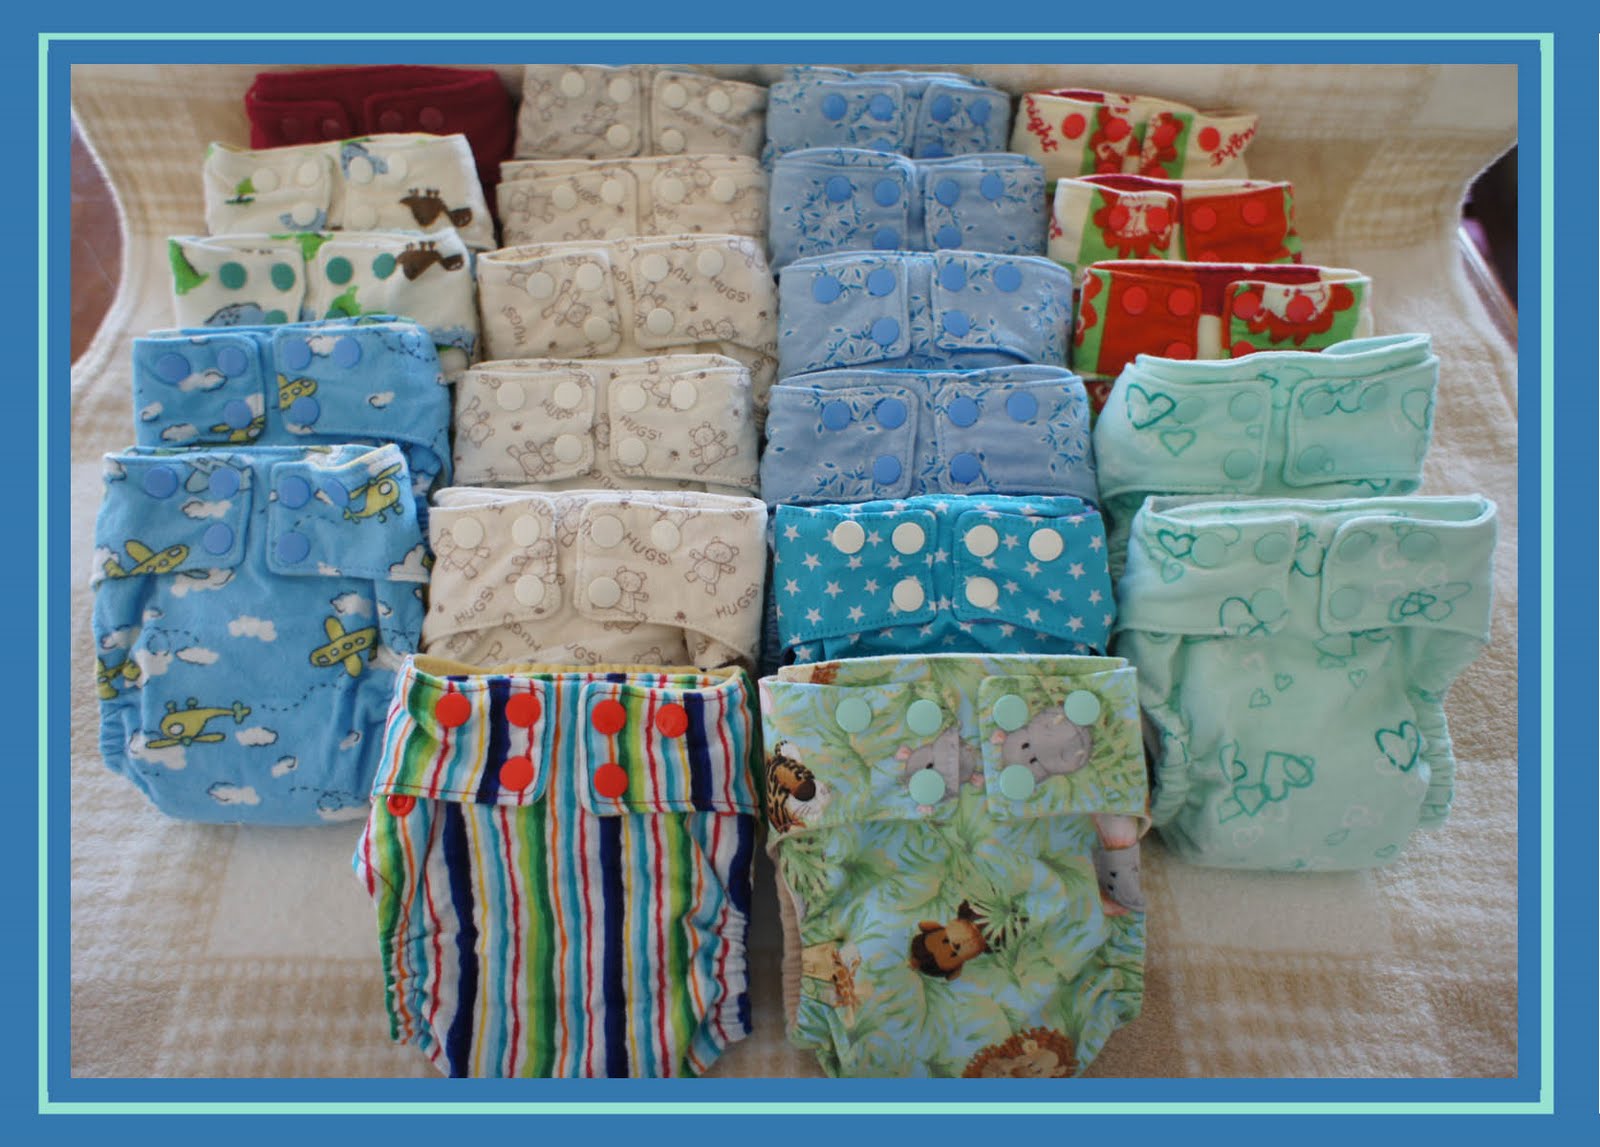
This is the small stash - 21 x fitteds plus 1 x AI2. I made a couple of covers as well but haven't taken a pic yet.


I thought I would try and make a Christmas nappy as I had some red fleece that has been sitting in my cupboard for a while. It's an AI2, has a hidden layer of PUL, an inner of suedecloth, sewing in hidden bamboo booster and a snap in bamboo booster also topped with suedecloth. The Christmas tree on the back of the nappy is an iron on patch from Spotlight, though I have sewn it on to ensure that it stays in place! I was really happy with how this nappy turned out!


Photobucket

Friday, September 17, 2010

Indiana dress up outfit complete!


As it was our oldest son's 6th birthday yesterday he got the finishing touch for his Indiana dress up - a hat! He was thrilled. You can see in the pick the Indiana bag I ended up making for him too, it has an adjustable length strap.

Photobucket